Image
Wiki Basic - Create Page - Format Page - Format Text - Format Code - Links - Image - Table - Folder Tree - Menu - Downloads - Project - Administration
This page explains the image syntax when editing the wiki. You or another user must usually upload an image before you can use it on a page.
Naming Convention
All uploaded files are stored in one single folder, so the naming is important to be able to structure and find the files.
The name of the images uploaded to the web site should follow the following name convention
- Only use small letters.
- Use the character '-' (minus) to separate words in the file name.
- The name of the files should start with the path to the page where the image should be displayed.
Example on file names:
- c3fire-config-install-linux-start-jetty-sh.png
- c3fire-doc-org-hierarchic.gif
- c3fire-config-ui-unitinfo-outline-1.gif
- dev-git-web-login.png
Example on name selection:
If an image exists on the page: http://www.c3learninglabs.com/mw/index.php/C3Fire:Config/UI/Main_Layout
The path on the site is: C3Fire:Config/UI/Main_Layout
It will define the start of name for the image file to c3fire-config-ui-main-layout
If it is an image displaying map-layer-control then the image name should be:
Path: c3fire-config-ui-main-layout
Explaining Name: map-layer-control
File Name: c3fire-config-ui-main-layout-map-layer-control.png
Image Size
To make scree captures look good the site we recommend to have the images on the same side to have the same size.
We recommend the following width size as 500 ... 800 if possible.
Use ShareX to test if a window have a specific size.
In ShareX select fixed region size to be width 750, then when capture region, an area with a width 750 will be shown.
Width 600

[[File:C3wiki-image-width-597.png|600px]]
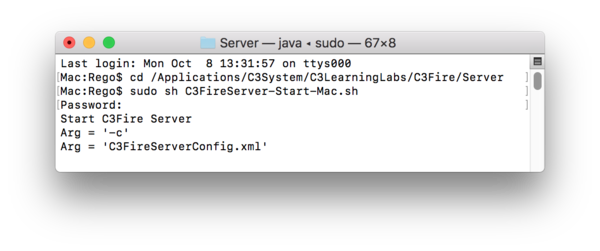
[[File:C3wiki-image-width-mac-67.png|600px]]
Width 700

[[File:C3wiki-image-width-701.png|700px]]

[[File:C3wiki-image-width-mac-no-shadow-96.png|border|700px]]
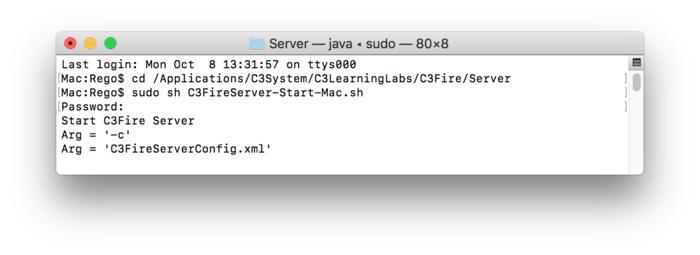
[[File:C3wiki-image-width-mac-80.png|700px]]
Width 750

[[File:C3wiki-image-width-749.png|750px]]
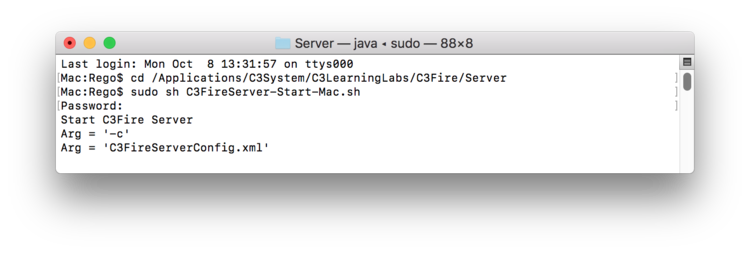
[[File:C3wiki-image-width-mac-88.png|750px]]
Width 800

[[File:C3wiki-image-width-797.png|800px]]

[[File:C3wiki-image-width-mac-96.png|800px]]
Width 900

[[File:C3wiki-image-width-mac-110.png|900px]]
Upload Image
Go to the Upload file page to upload a file, or use the wizard UploadWizard to upload a series of images. View a list of all uploaded files at page File list, or view a log of the uploaded files at page Upload Log.
- Put Image to C3System resources
Mail all uploaded images to the site web master so that the files can be put in the C3System resources.
The web master should copy all uploaded files should to the C3System resources folder in the web site backup and in system installation.
Web master: Always copy the files to web site backup folder: ...\MediaWiki\Sync\Images\, (and in the folder structure)
- Example:
- Windows:
\\Cydonia\dev\Sever\MediaWiki\Sync\Images\
- Windows:
Web master: If access, then copy the files to system development folder:
..\Dev\C3Systems\Images\Site\
The files will exist in system instalation folder: <C3LEARNINGLABS-ROOT>Resources\Site\Images\
- Example:
- Windows:
C:\C3LearningLabs\Resources\Site\Images\\ - Linux:
/opt/c3system/C3LearningLabs/Resources\Site\Images\
- Windows:
Delete Image
View a log of the uploaded files at page Upload Log or view a list of all uploaded files at page File list.
- Select image, and press on the delete button at the page foot.
- Confirm delete.
Show an Image
Use the following markup to show an image.
[[File:example.jpg|caption]]
Examples:
[[File:c3ll-mainpage-mats-georios-bord-300x250.jpg|Mats and Georios at FHS Sweden]]
Displays:
Border
[[File:c3ll-mainpage-mats-georios-bord-300x250.jpg|border|Mats and Georios at FHS Sweden]]
Displays a very small gray border:

Image size
[[File:c3ll-mainpage-mats-georios-bord-300x250.jpg|100px|Mats and Georios at FHS Sweden]]
Displays image with width 100 pixels:

Frame and Text
|[[File:C3ll-users-nasa-230x114.png|frame|none|link=https://www.nasa.gov/|<br>Nasa founds research project<br>that uses the C3Fire environment]]
Displays:
Screen Capture
Terminal window - Putty
A recommended screen Terminal window tool access a Linux server from Windows are Putty.
The Putty windows size can be configured to have a width size close to 750.
Windows 10: Font = 'Courier New', Font Size = '10', Columns = '72', Gives a window width size = 597.
Windows 10: Font = 'Courier New', Font Size = '10', Columns = '85', Gives a window width size = 701.
Windows 10: Font = 'Courier New', Font Size = '10', Columns = '90', Gives a window width size = 749.
Windows 10: Font = 'Courier New', Font Size = '10', Columns = '97', Gives a window width size = 797.
A recommended screen capture tool are ShareX.
ShareX can capture windows or an area/region of the screen.
Configuration
Good configuration features.
Image Format: Image->Image format = PNG, PNG bit depth = default.
Mouse Pointer: Capture->show cursor in screenshots = Yes/No
Time Delay: Capture->Screenshots delay = 10 seconds, Make it possible to move the mouse pointer to wanted position.
Region capture Size: Task Settings->Capture->Region capture, The region size can be defined (Fixed size region mode).
Set size to Width = 750, Hight = xxx.
- Gray border
To add a gray border around image when using region capture edit effect and activate.
- Task Settings->Image->Effect->Image effect configuration
- Add Border
- Size: 1
- Color: 150;150;150
- Add Border
- Task Settings->Image->Effect
- Only apply effects to region capture : Yes
- After capture tasks->Add image effect / watermark : Yes
Linux
| Selection of screen: | Shift + Print Screen |
| Active window: | Alt + Print Screen |
- Set terminal Prompt
PS1="$ "
Install Gimp
sudo apt-get install gimp
Mac
Command key = Windows Key
| Entire Screen: | Command + Shift + 3 |
| Selection of screen: | Command + Shift + 4 |
| Open Window: | Command+Shift+4 then hit the Space bar, Click on the window you want to capture |
Image are stored on desktop as default.
| Open Window with no shadow: |
Command+Shift+4 then hit the Space bar. Hold Option key and click on the window you want to capture |
Install Gimp
sudo apt-get install gimp
Video
- Convert
- https://cloudconvert.com/
References
Wiki Basic - Create Page - Format Page - Format Text - Format Code - Links - Image - Table - Folder Tree - Menu - Downloads - Project - Administration

